When it comes to portrait photography, the way skin is retouched can make or break the final image. The goal is always to enhance natural beauty — smoothing imperfections while preserving the skin’s texture and character. Achieving this balance is a skill that takes time, technique, and a thoughtful approach.
Why Skin Retouching Matters
Skin retouching is not about erasing all flaws or creating a plastic look. Instead, it’s about:
- Enhancing the subject’s natural features.
- Minimizing distractions like blemishes, uneven tone, or redness.
- Bringing out a healthy, vibrant glow.
A poorly executed retouch can make the subject look fake or overly processed, so understanding subtlety is essential.
Key Techniques You Need to Know
Let’s explore some of the most effective methods used by professionals to retouch skin naturally:
- Frequency Separation
This powerful technique separates skin texture from color and tone. It allows you to smooth uneven areas without losing pores and fine details. Learning frequency separation is a cornerstone skill for any serious retoucher. - Dodge and Burn
By selectively lightening and darkening areas of the face, dodge and burn techniques add dimension and shape. This can subtly correct shadows, enhance cheekbones, and refine facial contours without flattening the image. - Healing and Cloning Tools
These tools are perfect for removing minor blemishes, stray hairs, or spots. The key is to use them sparingly and always blend carefully to maintain a natural look. - Skin Tone Adjustments
Adjusting the overall skin tone can bring warmth and vibrancy. Use color balance, selective color, or curves to fine-tune reds, yellows, and shadows for a healthy glow.
Tips for Maintaining Natural Texture
Maintaining texture is one of the biggest challenges in skin retouching. Here are a few practical tips:
- Always work with a light touch — build effects gradually.
- Zoom in and out frequently to check how the image reads at different sizes.
- Use layer masks to apply corrections only where needed.
- Avoid over-smoothing, especially around areas like the nose, eyes, and lips.
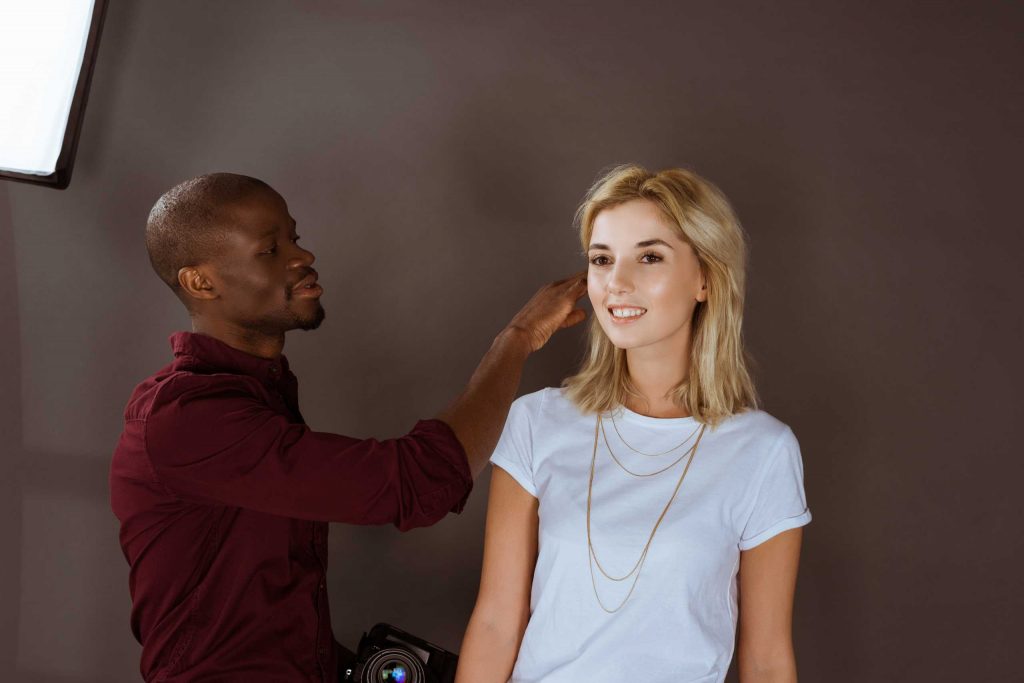
The Role of Lighting and Shooting Conditions
Remember, great retouching starts before editing — with good lighting and camera settings. Soft, diffused light minimizes harsh shadows and blemishes, making retouching easier and more natural-looking. When shooting, encourage your subjects to relax — authentic expressions shine through better and reduce the need for heavy corrections.
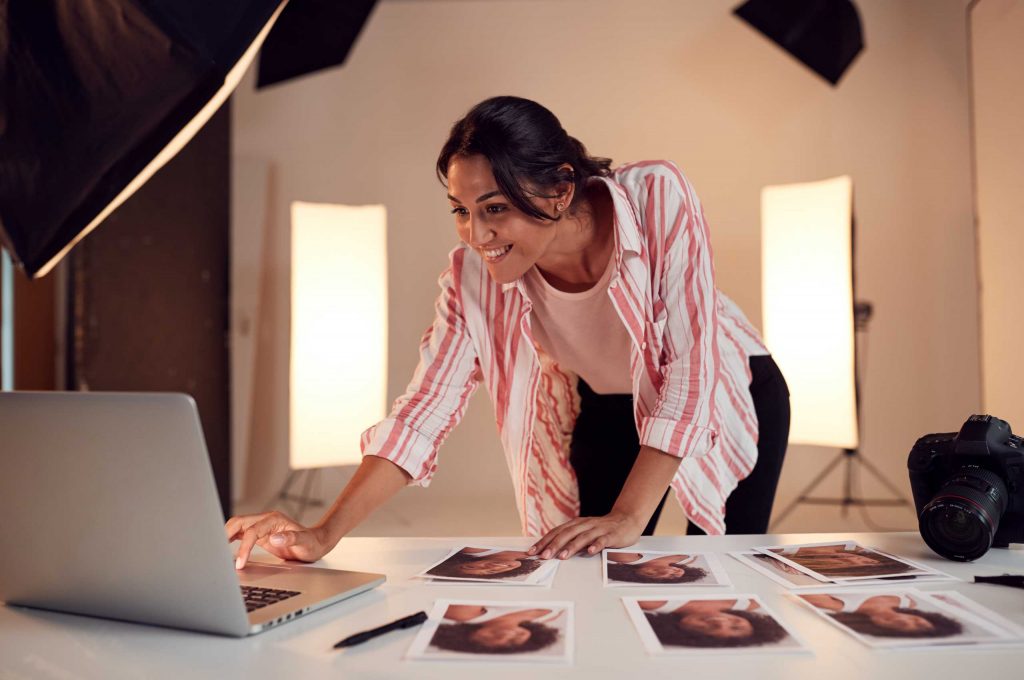
Practice Makes Perfect
Like all skills, skin retouching improves with practice. Try working on different skin types and lighting conditions to expand your experience. Don’t hesitate to experiment with different techniques and find what works best for your style.
By mastering these techniques, you’ll create portraits that celebrate natural beauty with elegance and subtlety — the hallmark of professional retouching.